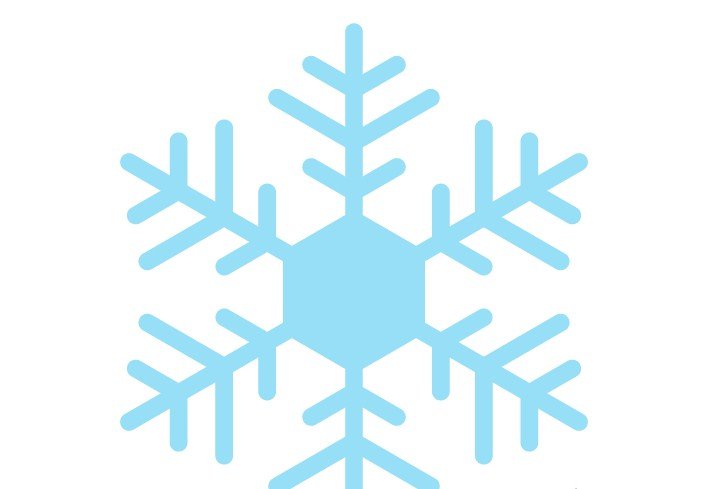
Snowflakes are some of the most beautiful and fascinating natural wonders that we can see during the winters. These intricate crystal structures, formed by water molecules freezing in the atmosphere, come in all shapes and sizes, and are often used as a symbol for the holiday season.
Drawing snowflakes can be a fun and creative activity that you can do with your family or friends, and it’s surprisingly easy to do, even if you don’t have any artistic skills. In this article, we will provide you with a step-by-step guide on how to draw simple snowflakes that will look stunning on your holiday cards, decorations, or gift tags.
Materials Needed:
Before we start, let’s gather the materials we need for this activity. You will need a white sheet of paper, a pencil, an eraser, a ruler, a compass, and some colored pencils or markers if you want to add some color to your snowflakes. You can also use a snowflake stencil if you prefer to trace the shapes, or create your own using thin cardboard or paper.
Basic Snowflake Shapes:
Snowflakes are based on the hexagonal shape, which means they have six points or branches. To draw a simple snowflake, start by drawing a small circle with the compass in the center of your paper.
Then, using the ruler, draw two straight lines that intersect in the middle of the circle, dividing it into four equal parts. Draw a line from each point of the circle to the opposite point on the perimeter, creating a six-sided shape. This will be the basic shape of your snowflake.
Adding Details:
Now that you have the basic shape, you can start adding some details to make it look more like a snowflake. Using the ruler, draw some straight lines that connect the points of the hexagon, creating smaller triangles. Then, draw some diagonal lines inside the triangles, dividing them into smaller sections.
You can also add some curves or spikes to the edges of the hexagon, or create a pattern of dots, circles, or hearts within the triangles. The possibilities are endless, and you can experiment with different shapes and styles.

Symmetry and Variation:
One of the most interesting aspects of snowflakes is that they are symmetrical, meaning that each branch and section is a mirror image of the others. To create a symmetrical snowflake, you can fold your paper in half after drawing one branch, and trace the outline of the other side using the lightbox or a window.
This will ensure that the shape and size of each branch are the same, and the snowflake looks balanced. However, you can also play with asymmetry and variation, by creating snowflakes with different sizes or shapes, or using different colors or patterns for each branch.
Tips and Tricks:
Drawing snowflakes can be a relaxing and enjoyable activity, but it can also be frustrating if you don’t get the results you want. Here are some tips and tricks that can help you improve your drawing skills and create stunning snowflakes:
- Use light strokes with the pencil, so you can easily erase any mistakes or guidelines later.
- Don’t be afraid to make mistakes or try new things. Snowflakes are unique and imperfect, just like us.
- Use different types of pencils or markers to create different shades and effects.
- Experiment with different patterns, shapes, and textures, such as stripes, polka dots, or glitter.
- Practice, practice, practice. The more you draw, the better you get at it.
Conclusion:
Drawing snowflakes is a fun and creative way to celebrate the winter season and add a personal touch to your holiday decorations. By following these simple steps, you can create beautiful and unique snowflakes that will impress your friends and family.
Remember to have fun and experiment with different styles and colors, and don’t worry about making mistakes. Snowflakes are meant to be different and special, just like the people who draw them. Happy drawing!
FAQ
1. Q: Do I need to have artistic skills to draw snowflakes?
No, drawing snowflakes is a simple and easy activity that anyone can do, regardless of their artistic skills. All you need is a few basic materials and the willingness to experiment and have fun.
2. Q: Can I use a snowflake stencil to draw my snowflakes?
Yes, you can use a snowflake stencil if you prefer to trace the shapes. You can also create your own stencil using thin cardboard or paper.
3. Q: How many sides does a snowflake have?
Snowflakes are based on the hexagonal shape, which means they have six sides or branches. This is why most snowflakes have a symmetrical design with six identical branches.
4. Q: Can I add color to my snowflakes?
Yes, you can add some color to your snowflakes using colored pencils or markers. You can also experiment with different patterns, shapes, and textures, such as stripes, polka dots, or glitter.
5. Q: How can I create a symmetrical snowflake?
To create a symmetrical snowflake, you can fold your paper in half after drawing one branch, and trace the outline of the other side using a lightbox or a window. This will ensure that the shape and size of each branch are the same, and the snowflake looks balanced. Alternatively, you can draw each branch separately, making sure to keep the same size and shape for each one.
